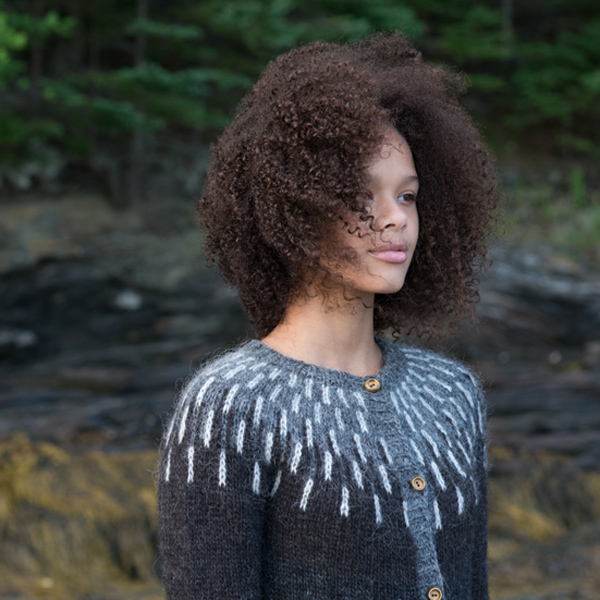
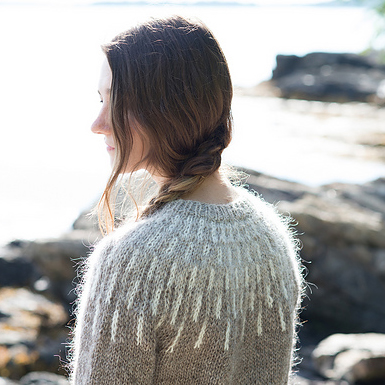
I designed Solbein Cardigan to be an ethereal light weight garment using a larger needle than is called for on the ball band. Lettlopi is an aran weight yarn and I used a needle size you’d more commonly use with a bulky weight yarn.
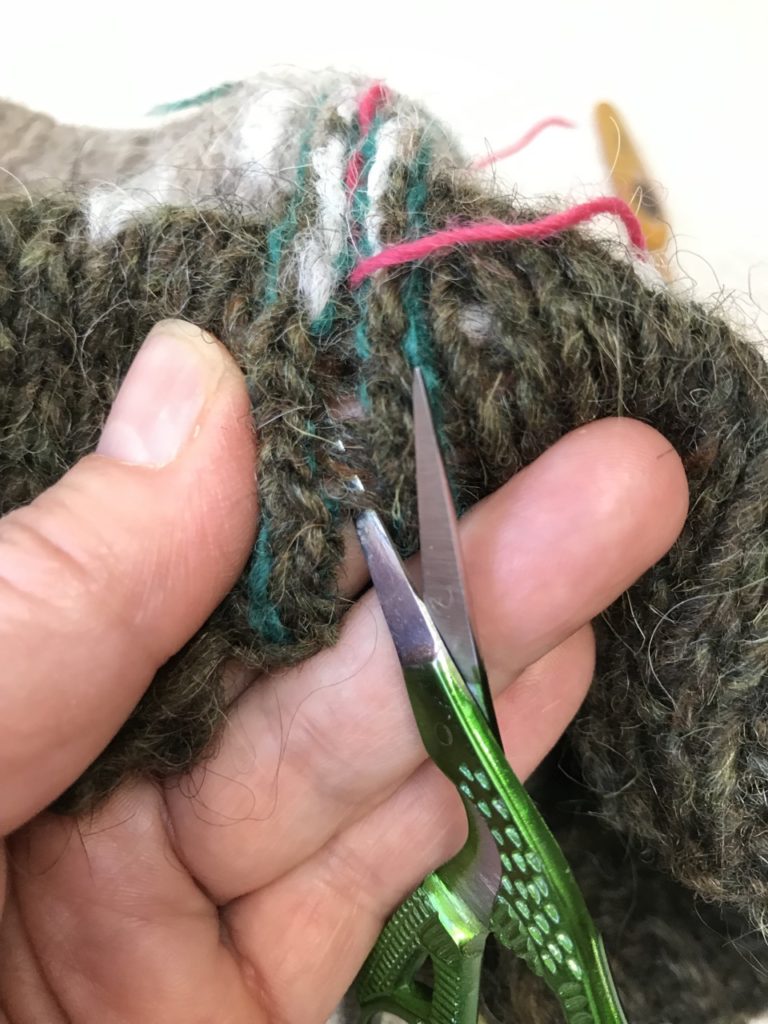
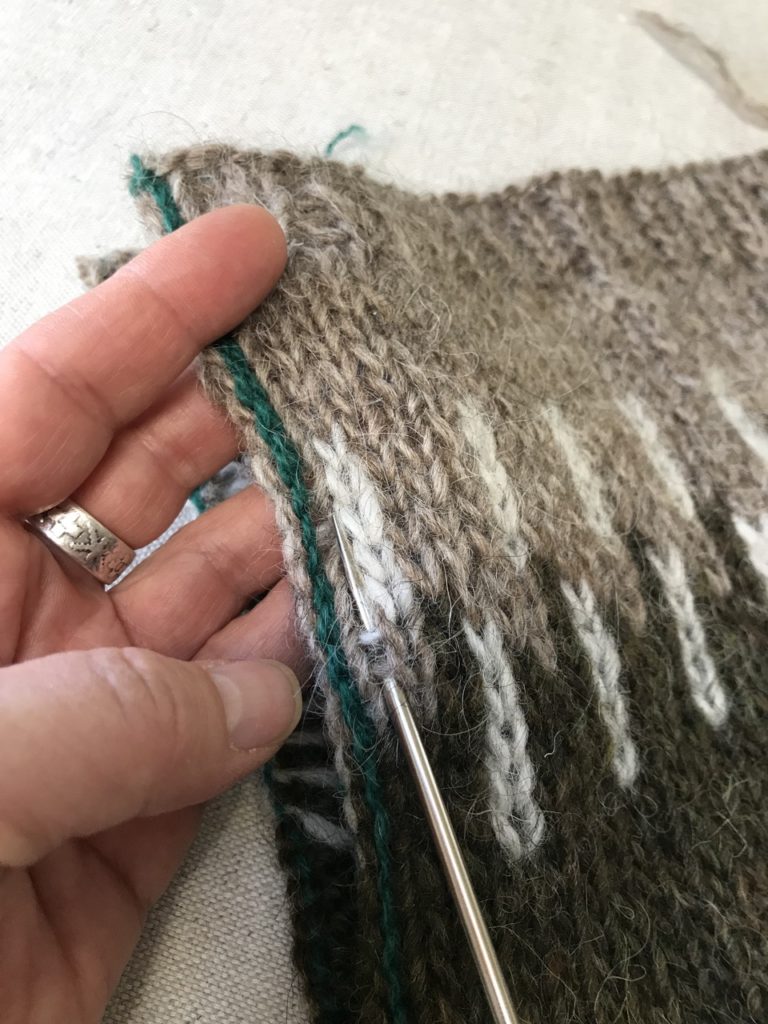
Sólbein is knit top down and in the round, with two purled steek stitches down the front which are later cut open to make it a cardigan. This is a pretty common way of making steek stitches in Iceland, often they only have a single purled stitch. The column of knit stitches on the reverse side make it easy to see where to run a line of sewing machine stitching to reinforce them. My Sólbein Cardigan pattern comes with an illustrated tutorial for the machine sewn process.
Now I know it isn’t always easy to carry a sewing machine around in your knitting bag, but a crochet hook fits just fine. Guess what? You can reinforce your steek stitches with slip stitch crochet! The thing is, it’s a little tricky with the purl-stitch steek to see what you’re doing. It may be wise to plan ahead if you know you don’t want to use a sewing machine and make a different kind of steek.
I made a couple of swatches, practicing for color and I decided to make some steek stitches in them so I could quickly show how to do a crocheted steek with the two purled stitches as the pattern is written, and another version with 3 stockinette stitches for the steek.
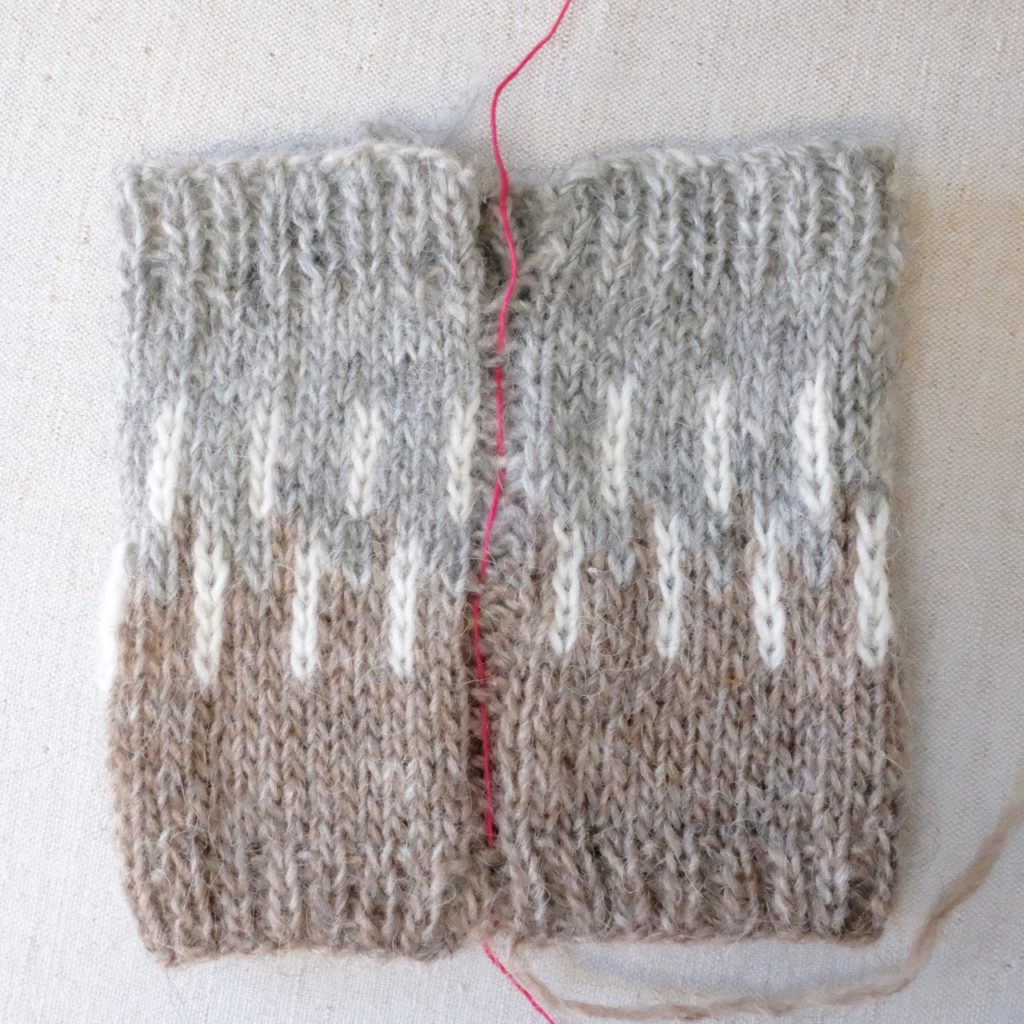
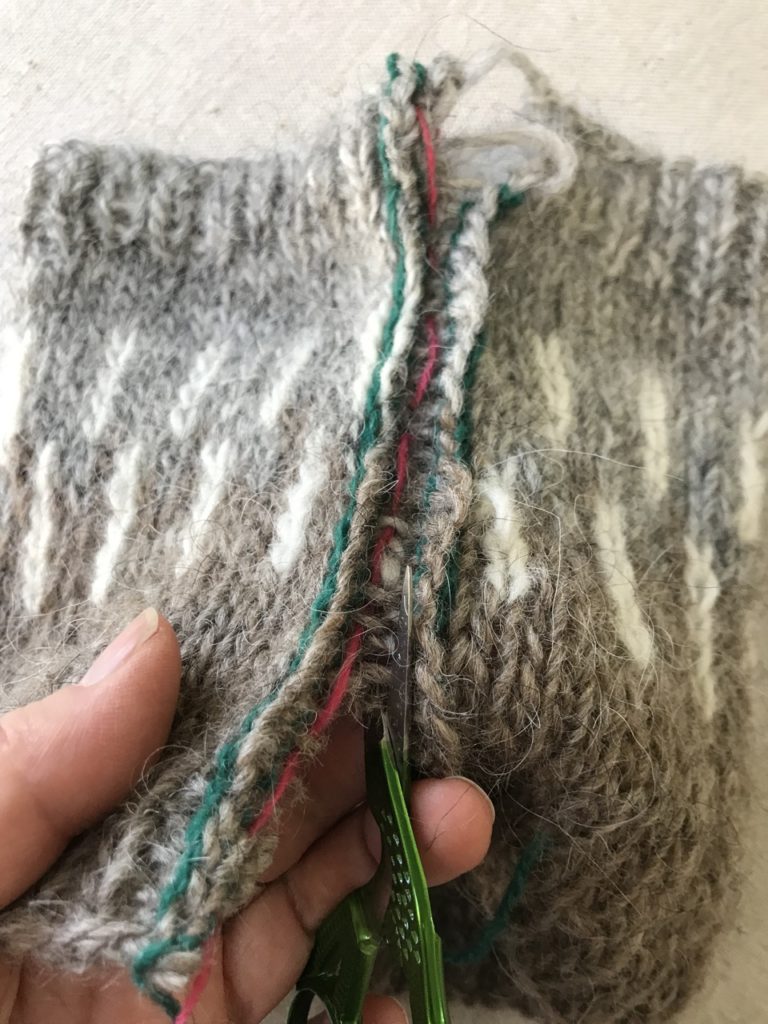
A pink basting thread marks the center of the two purl-stitch steek.
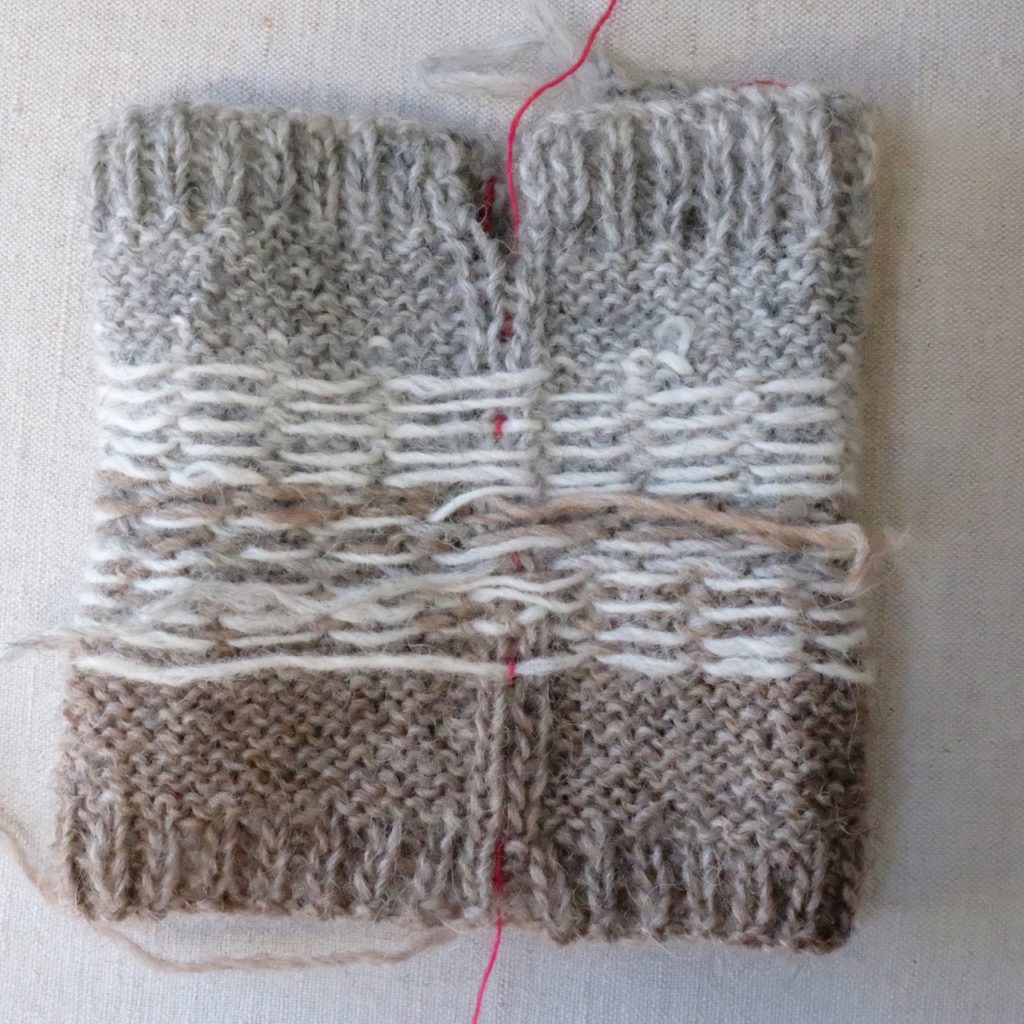
In real life, you can see the steek stitches underneath the floats that obscure them. If you were using a sewing machine to reinforce the steeks you would work from this side. The sewing machine will nail down the floats and the steek stitches.
Plan ahead If you know you’d like to do crocheted reinforcement, you may want to make a 3 stitch or 5 stitch stockinette-stitch steek. You will want to alternate the colors used in the rows you are knitting. This will make it easier to work the crochet reinforcement because it is easy to see the individual stitches.
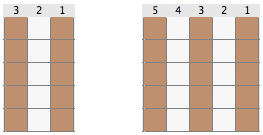
Sample stockinette stitch steek charts. The stitches of the three stitch steek will be cut down the center of stitch #2. The five stitch steek will be cut down the center of stitch #3.
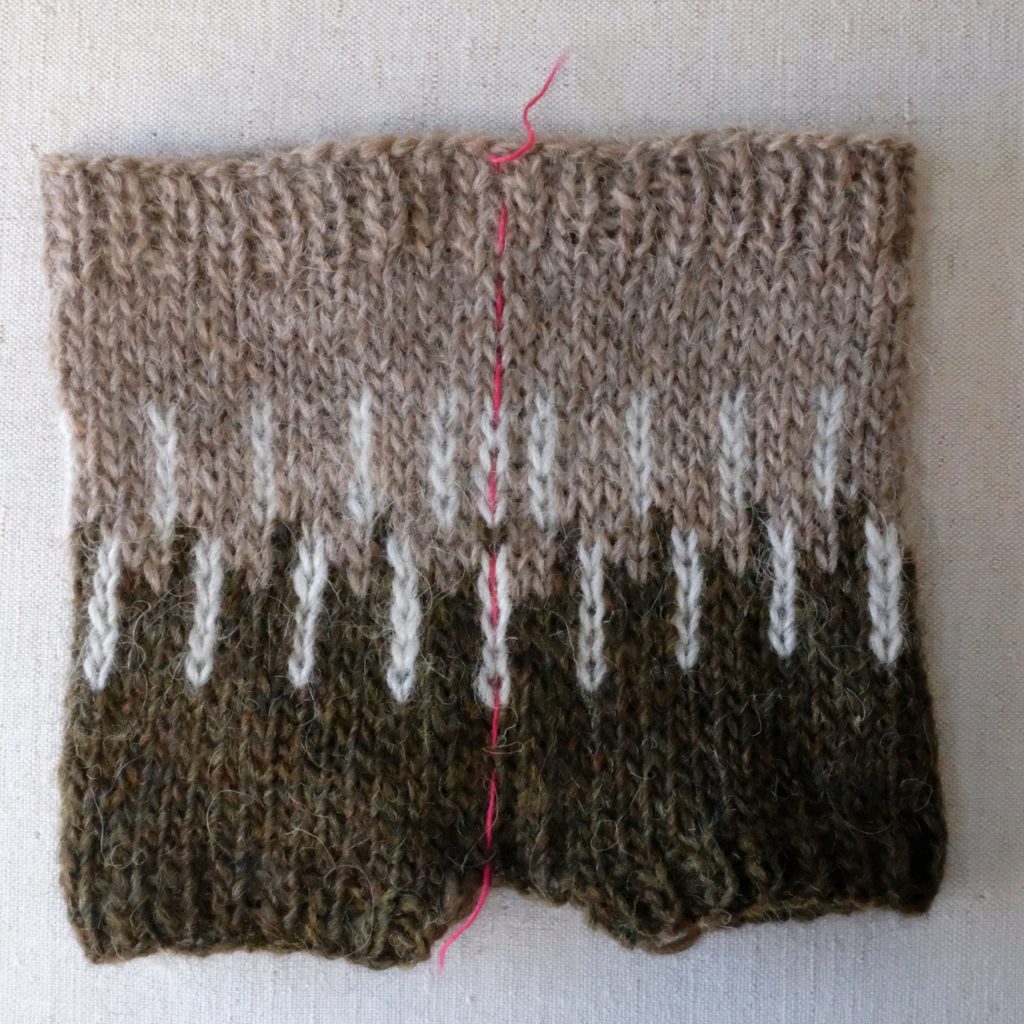
A pink basting thread picks out the center stitch of the steek. With crochet, you need to work from the right side of the work so the finished edge will magically fold to the inside once the button band is picked up.
Let’s get started!
First gather all your materials together. Make sure you are well rested and hydrated. Have an apple handy or a chocolate bar in case you get hungry.
You’ll need a pair of sharp scissors. A crochet hook slightly smaller in diameter than the Lettlopi. For the reinforcing yarn choose a color close to the body of your garment, just to make sure it won’t show through to the front. It should be a sticky yarn, not something like superwash. I used Jamieson & Smith 2 ply jumper weight. And for my demo I chose a color that would stand out not blend in so you can see it.
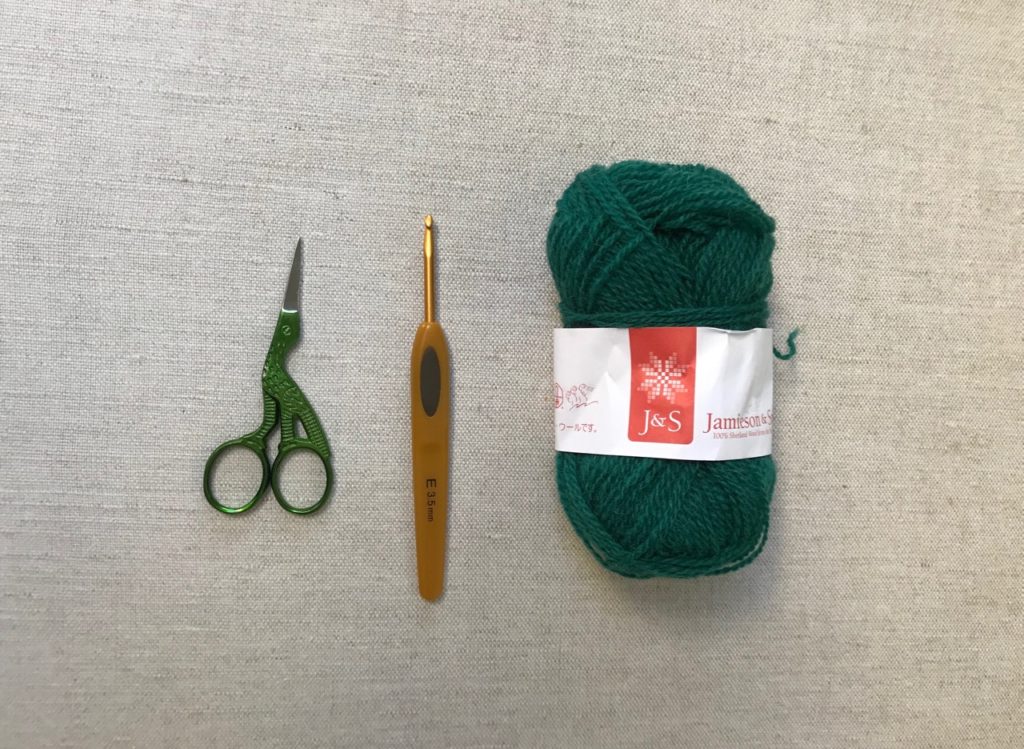
I also like to have a tapestry needle and a bright thread slightly longer than the length of the garment. I used it for basting down the center stitch as seen above, and where I will eventually cut. It also helps me when I’m picking up the stitches I’m going to crochet.
I’m going to show you the stockinette stitch steek first, because it is a lot easier to see.
Reinforcing Stockinette stitch steek with slip-stitch crochet
We work a line of slip stitch crochet as reinforcement. As you face the garment (or swatch) work from the bottom left side, moving to the left, up towards the neckline. When you get to the end of the steek, fasten off the yarn. Then rejoin new yarn and work down the right side of the steek.
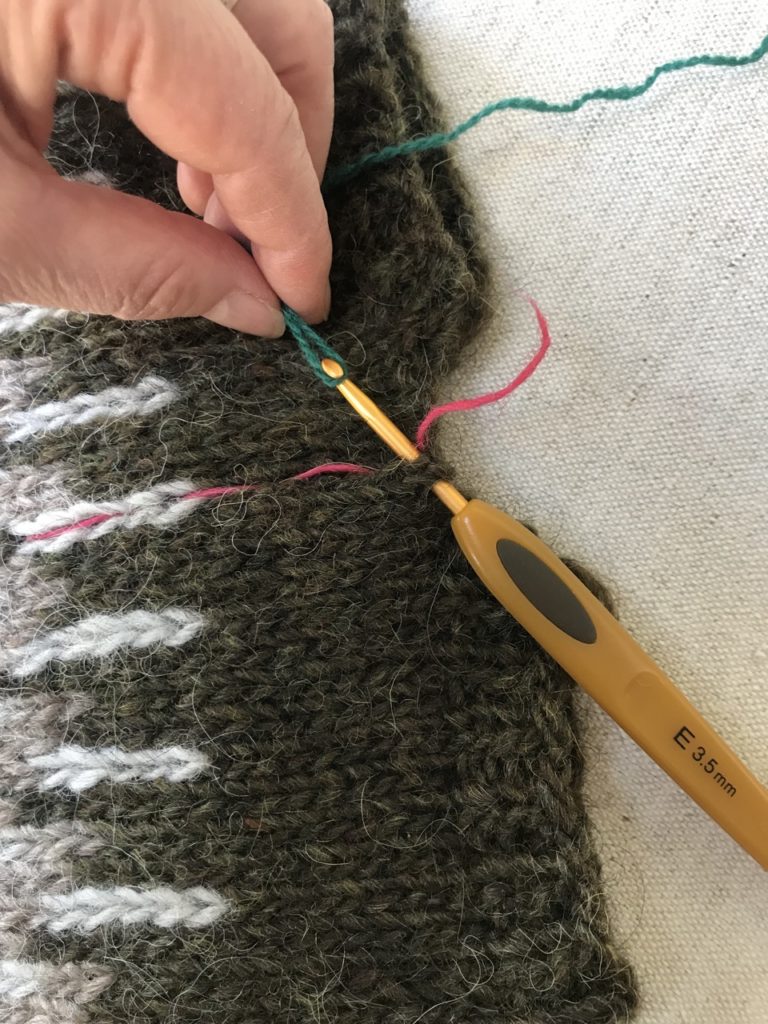
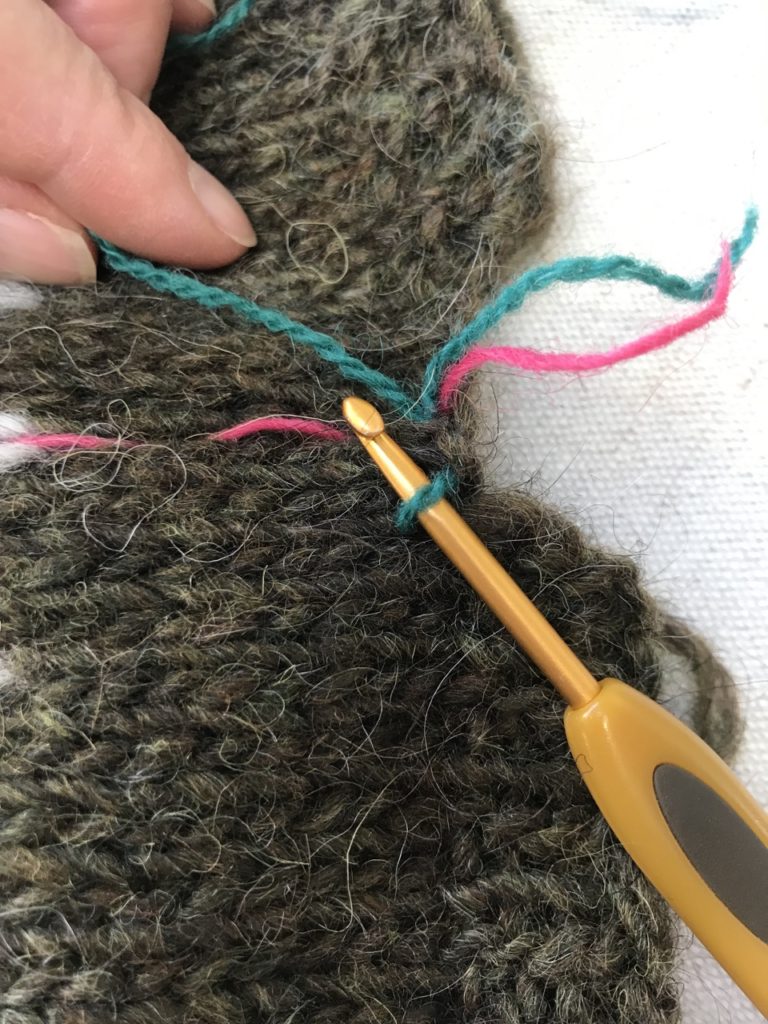
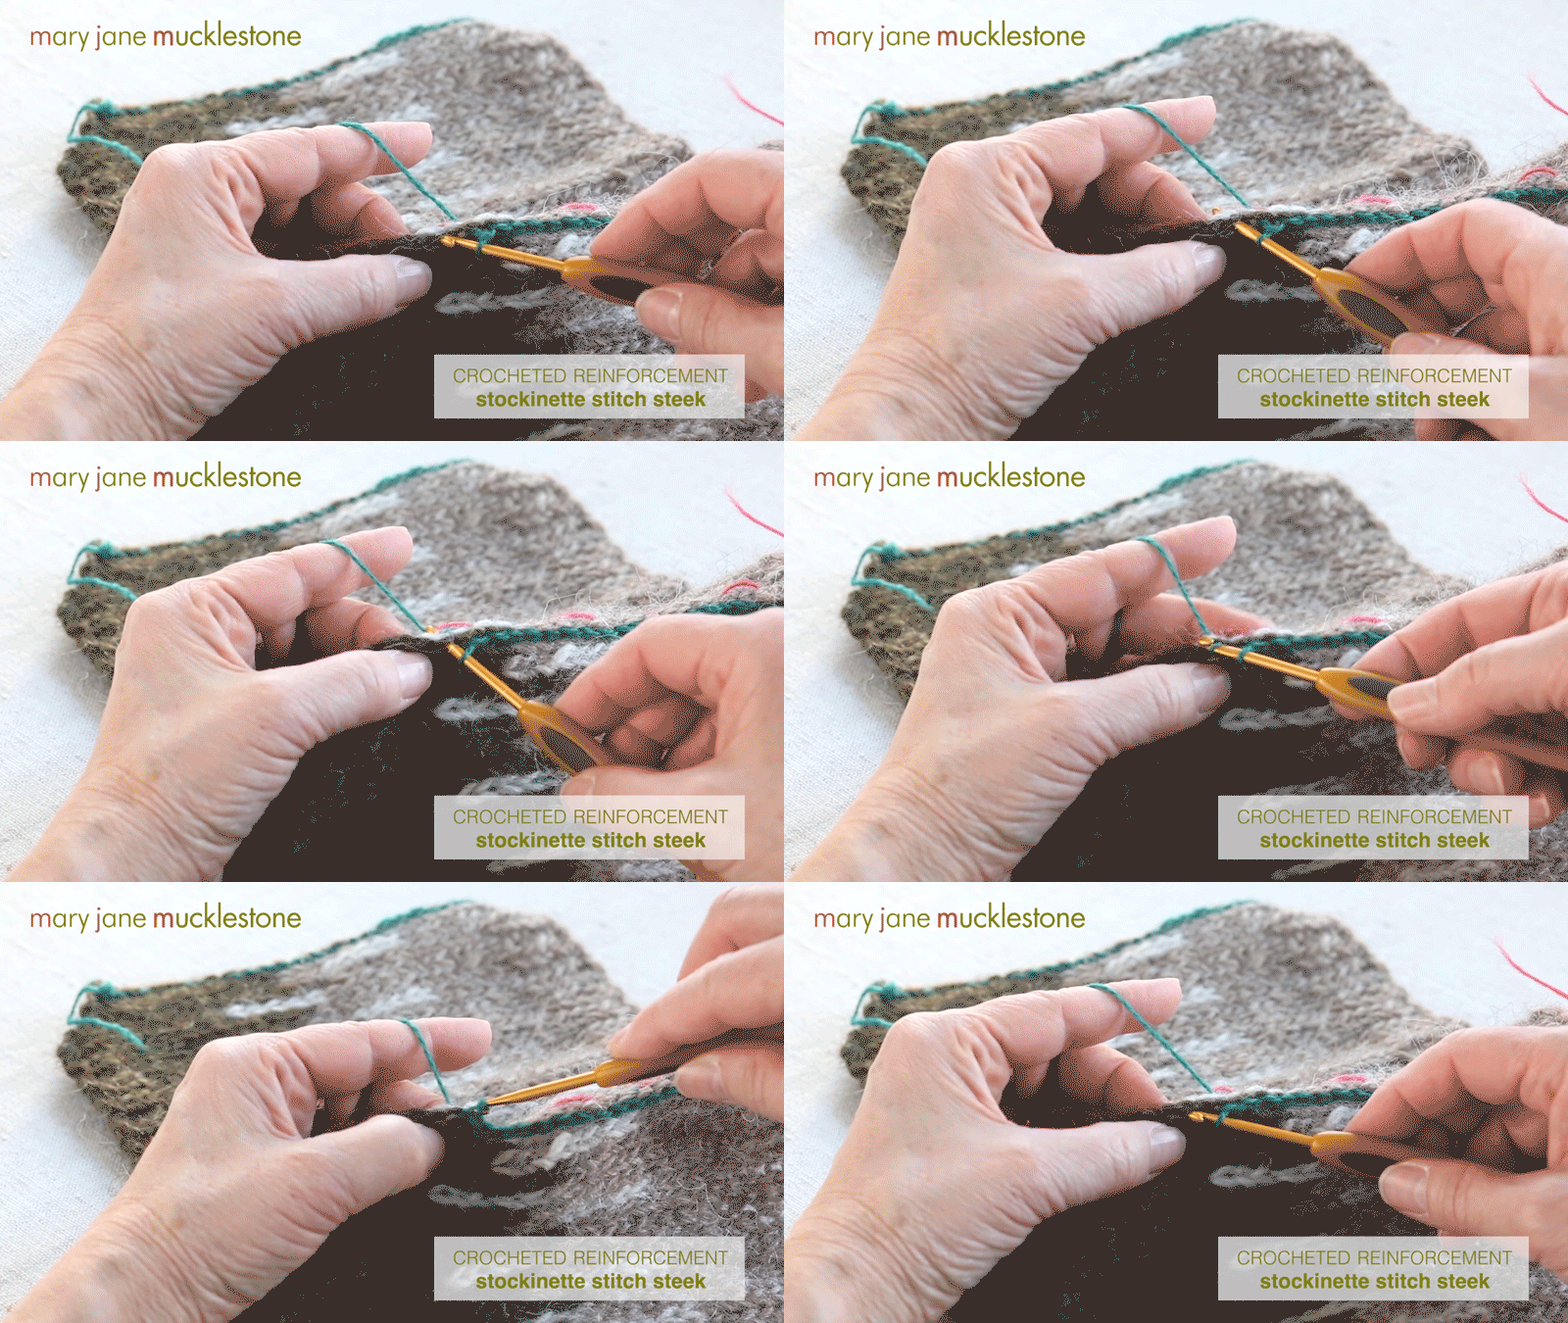
Working the Slip-stitch crocheted reinforcement.
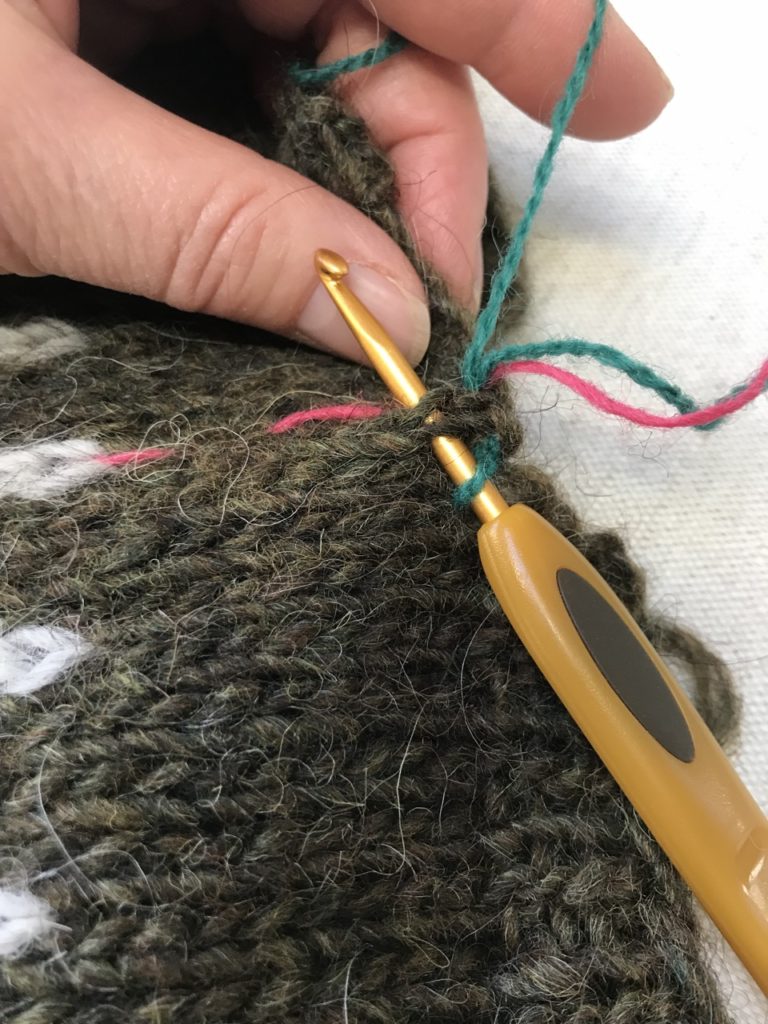
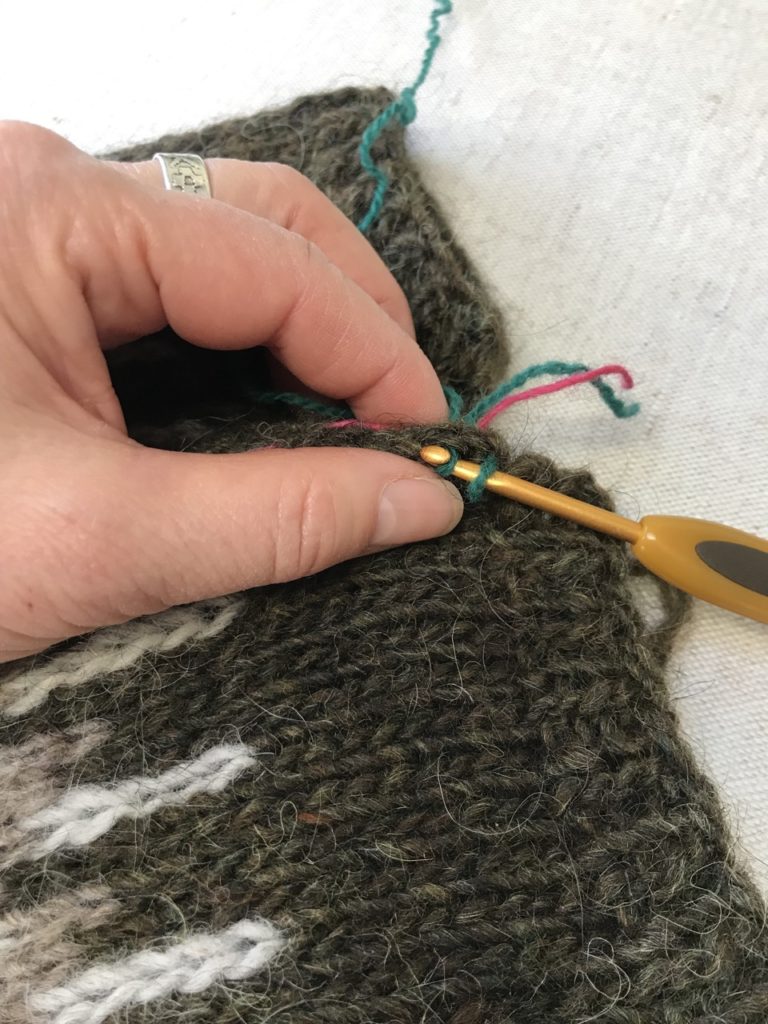
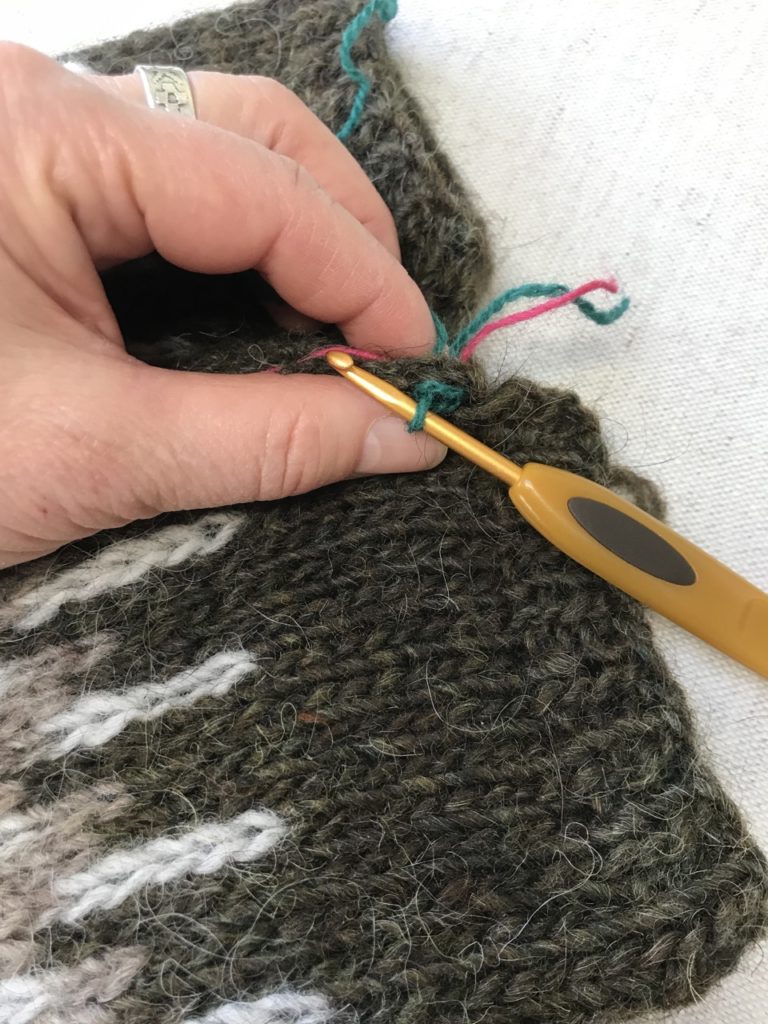
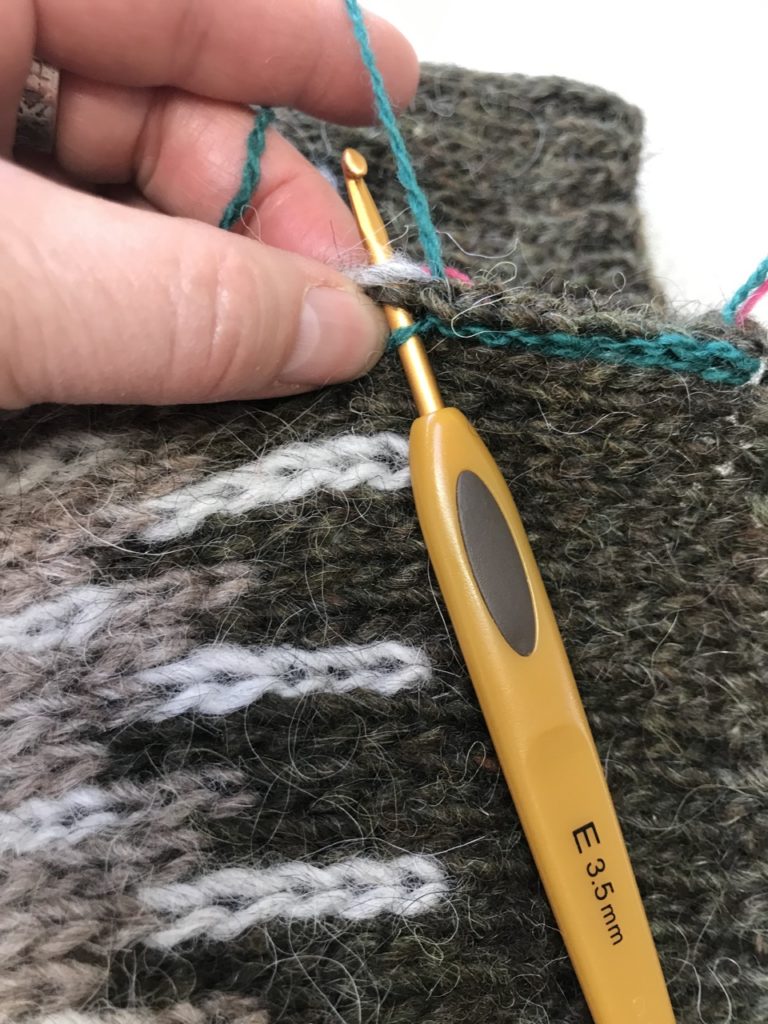
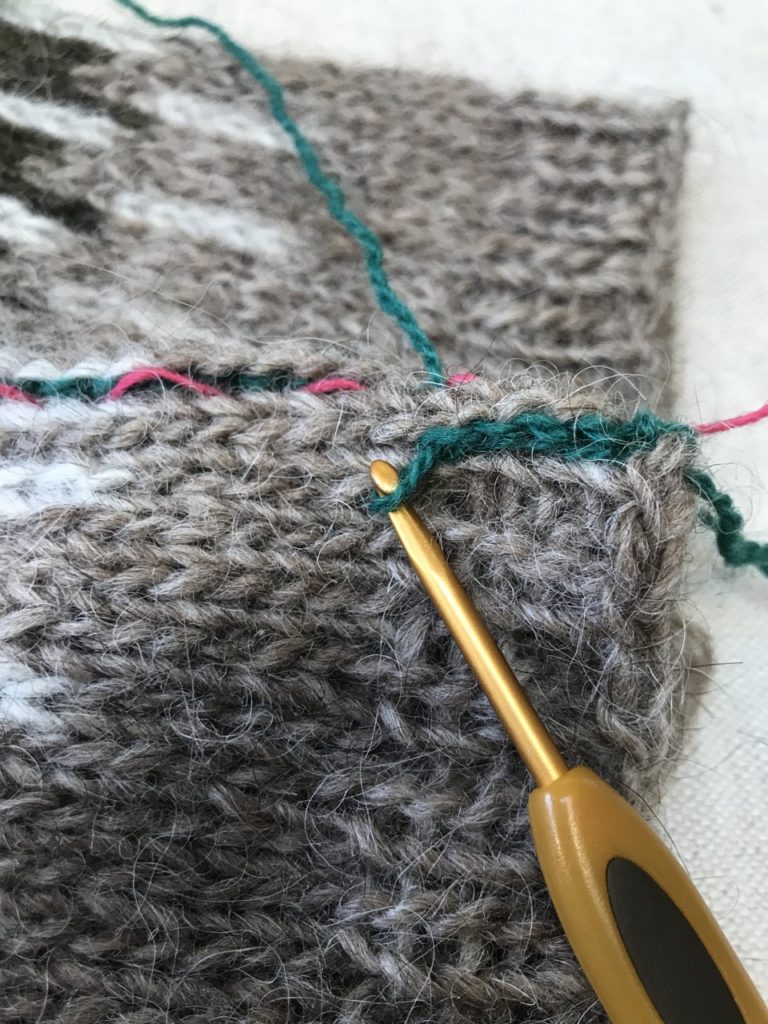
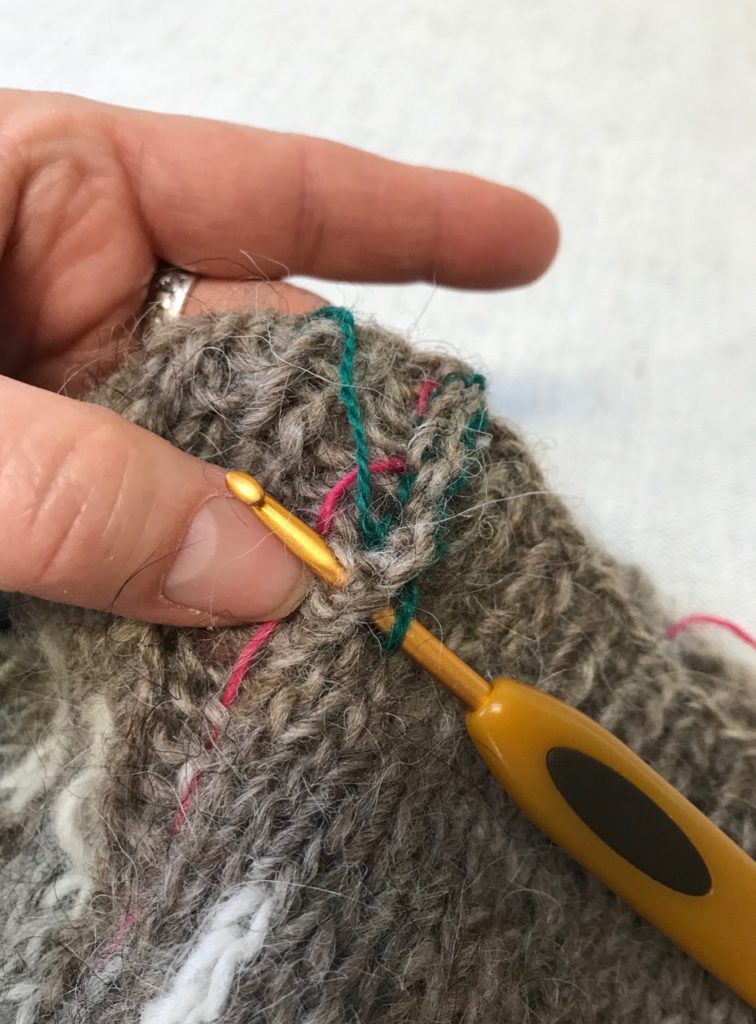
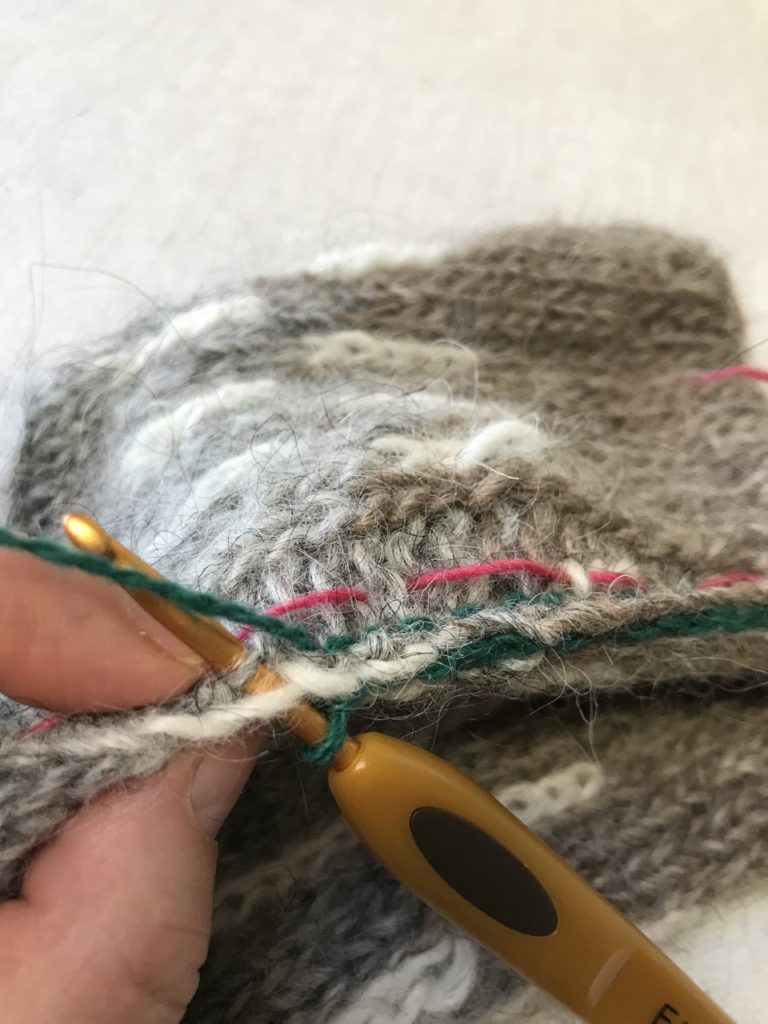
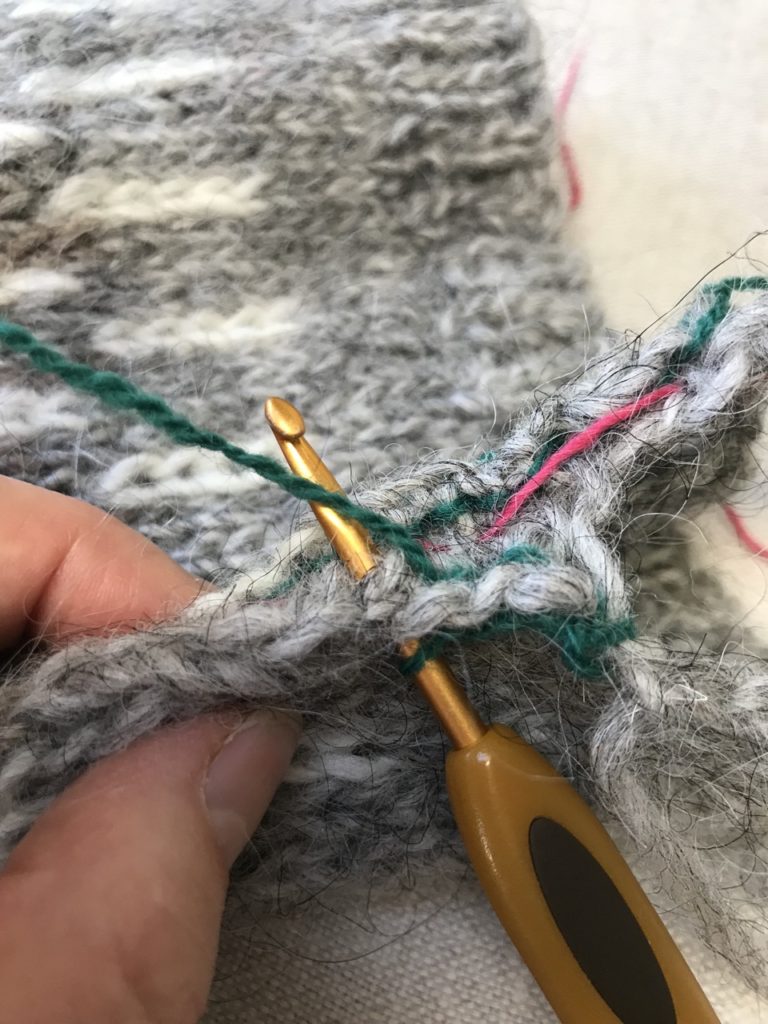
Left to right above: Working from bottom left, insert the hook in one leg one of the stitch adjacent to the center stitch and one leg of the center stitch. Pull reinforcing yarn through. Insert the hook through the next legs to the left of the ones just worked. Bottom row left to right: Pull the reinforcing yarn through new legs and the loop of the reinforcing yarn. Continue in this manner until you reach the end of the steek.
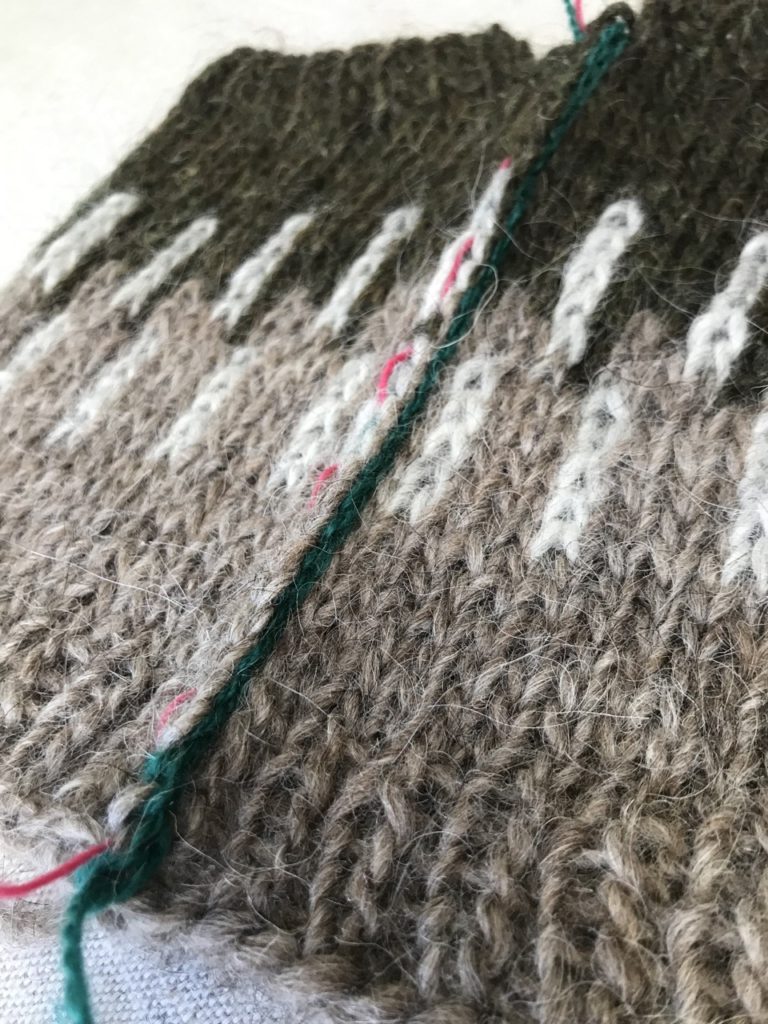
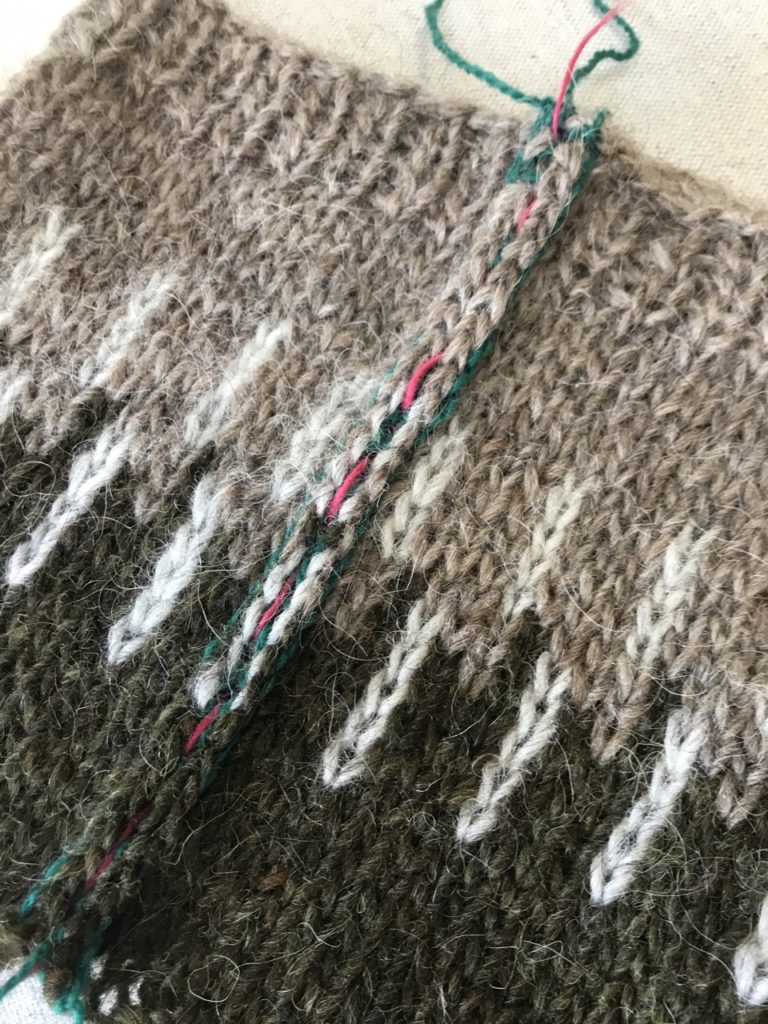
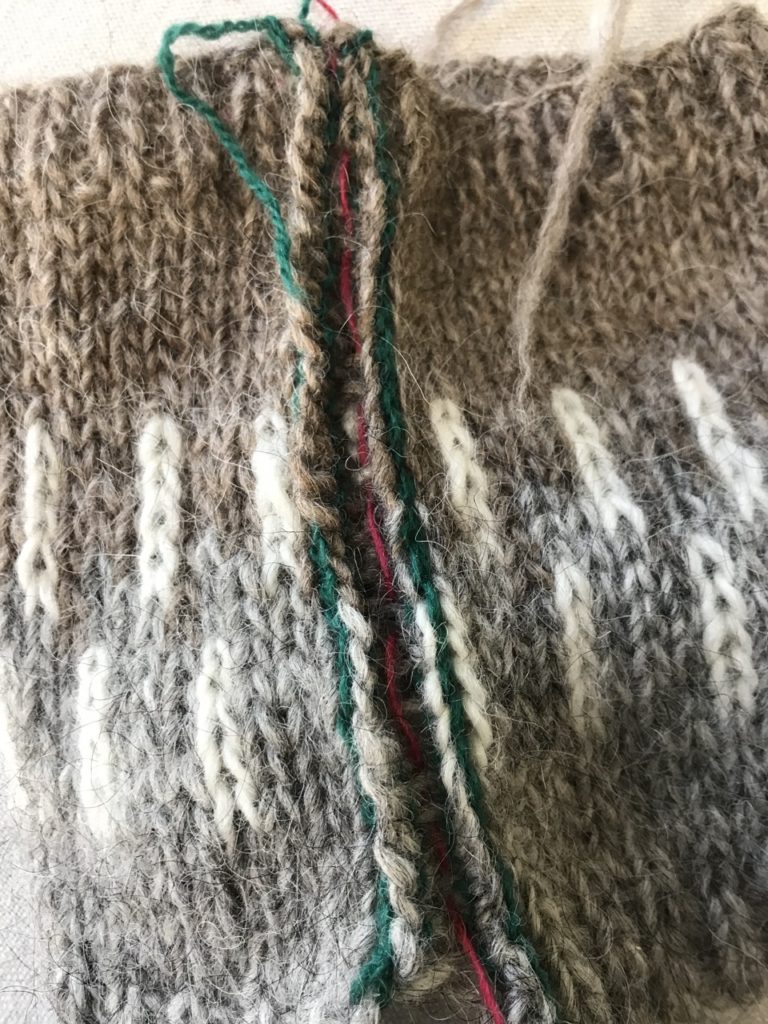
Left: Working second side of steek. Right: Both sides of steek reinforced.
Pull apart the reinforced stitches to reveal the bars between them which we will cut.
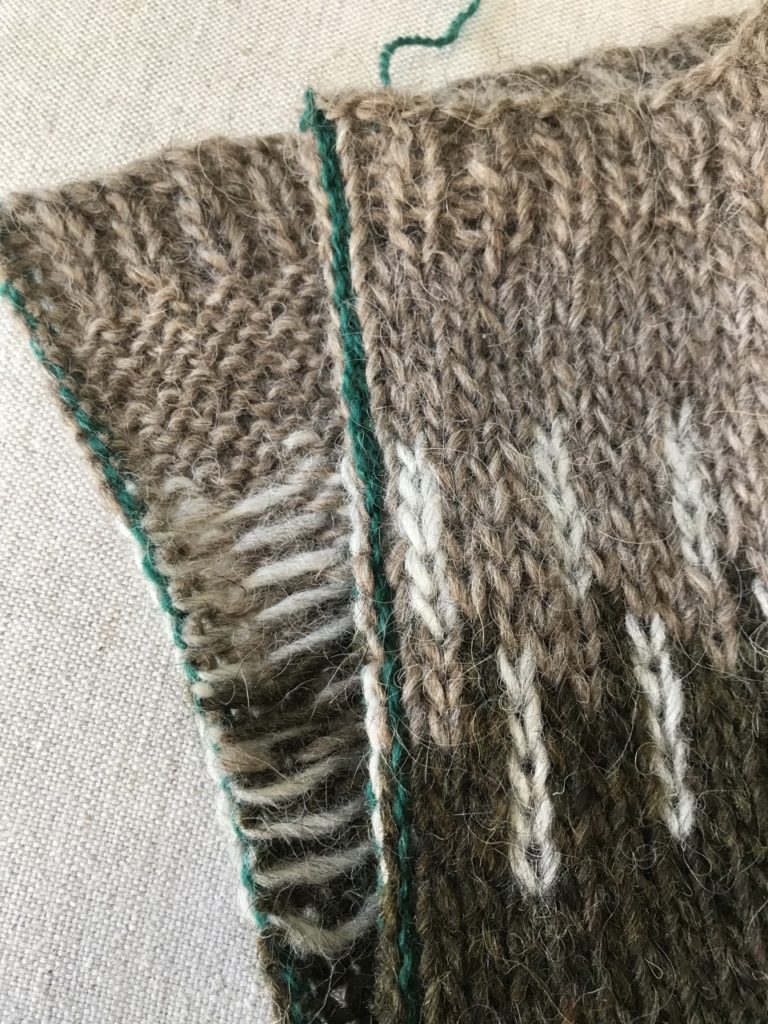
The act of picking up for the button band will further secure the floats.
I didn’t add button bands, maybe next week!
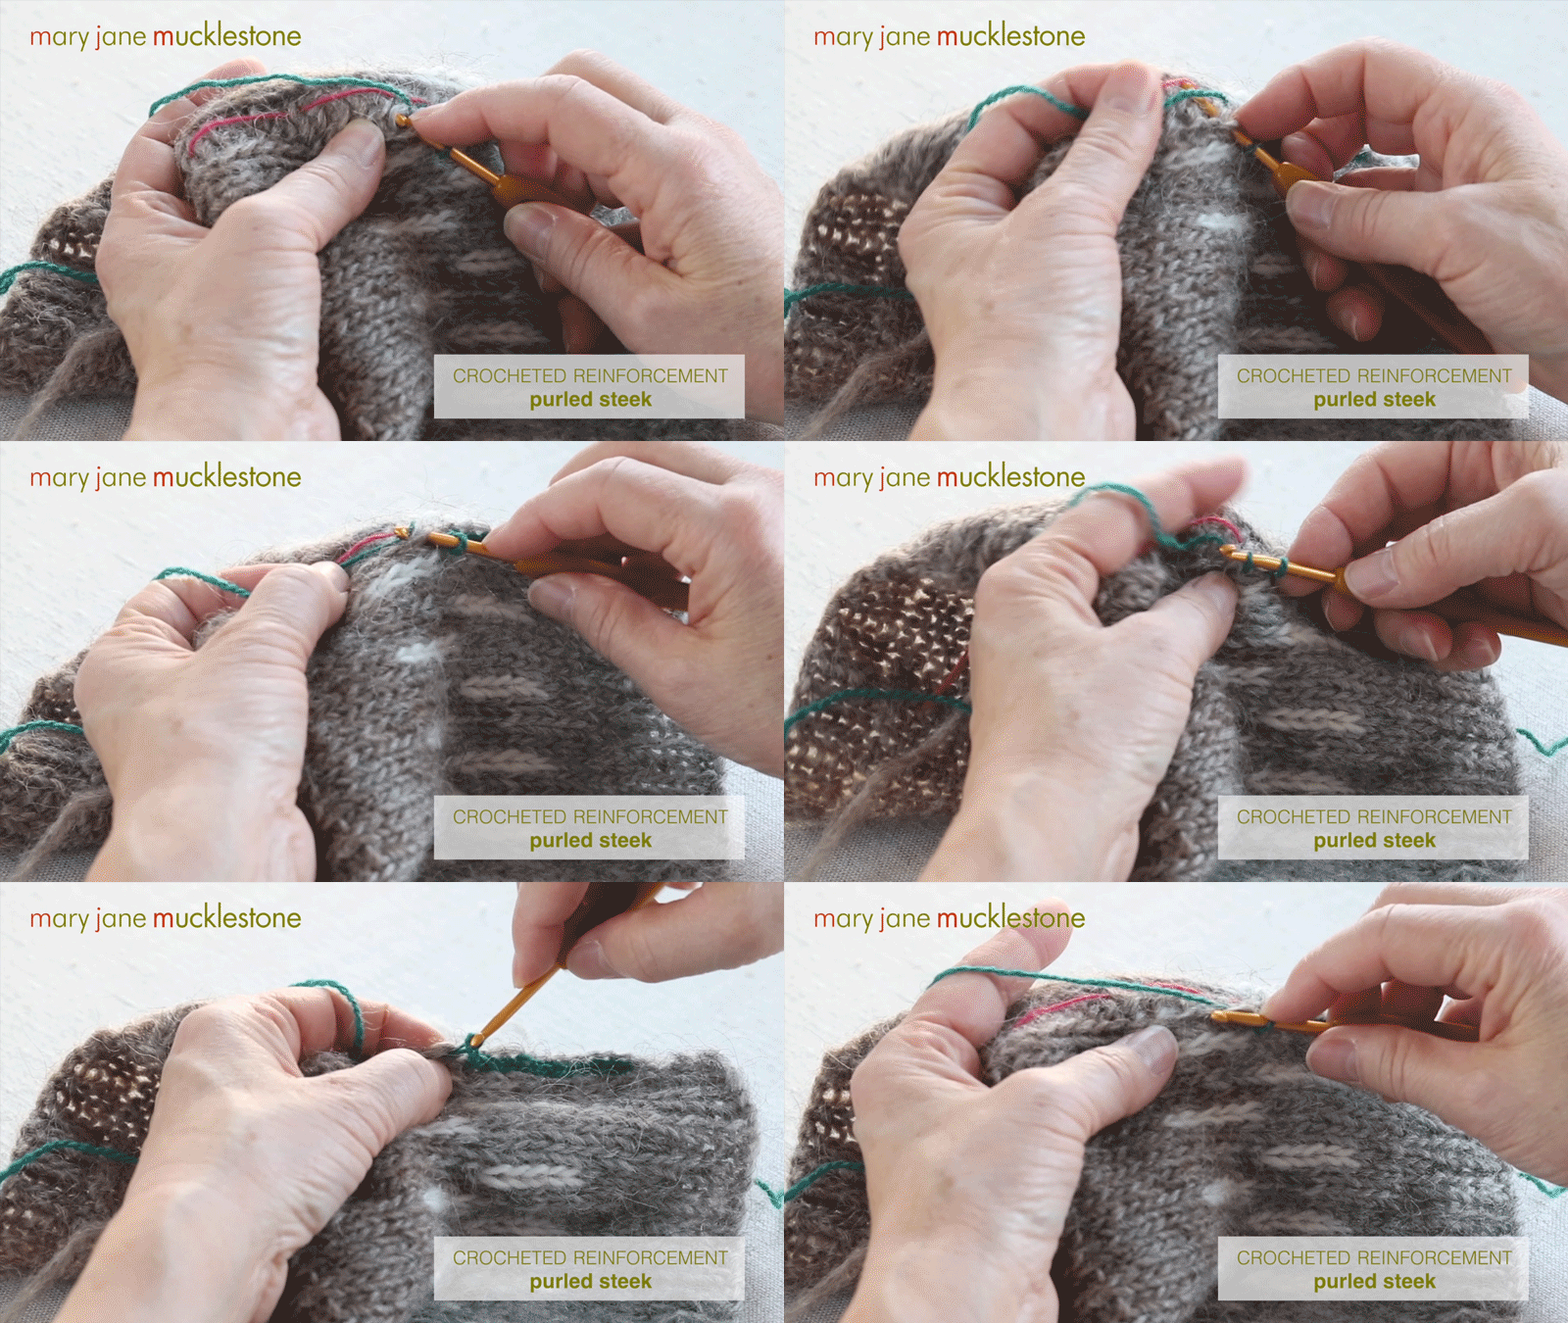
Crochet reinforcement for purl-stitch steek stitches
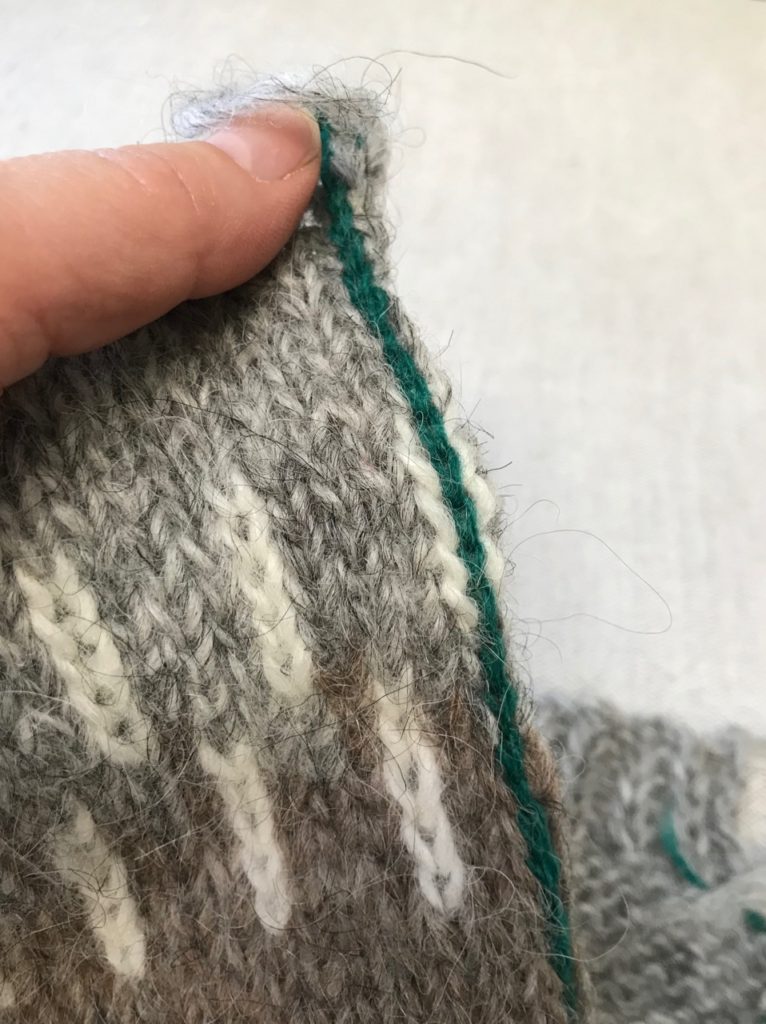
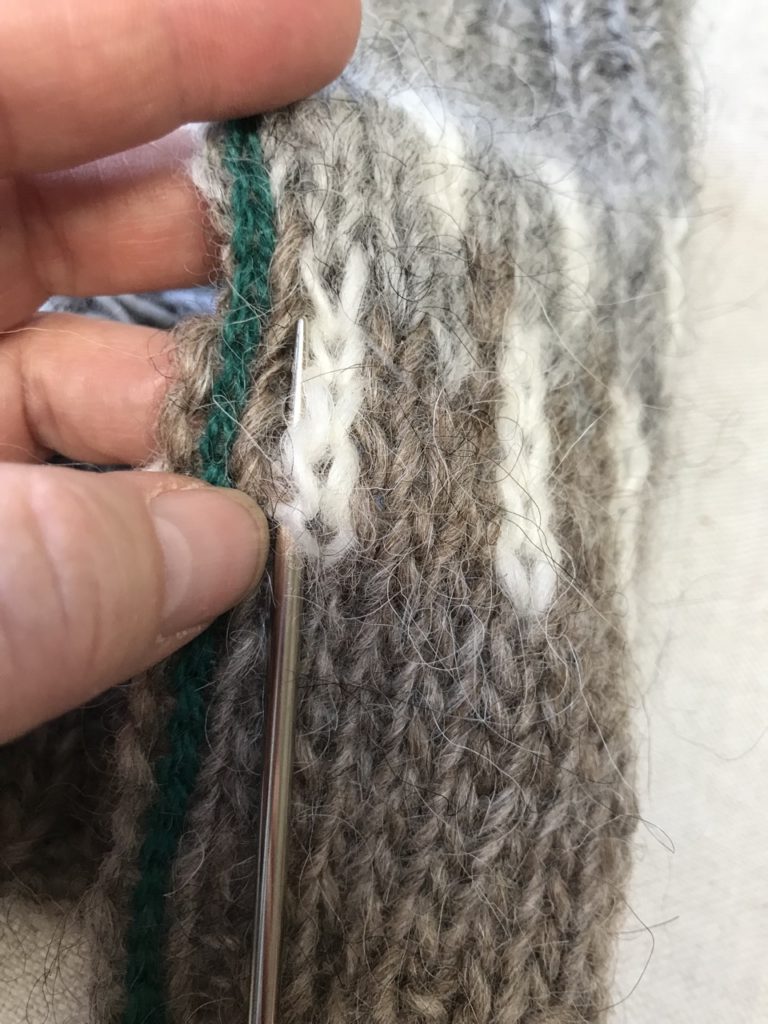
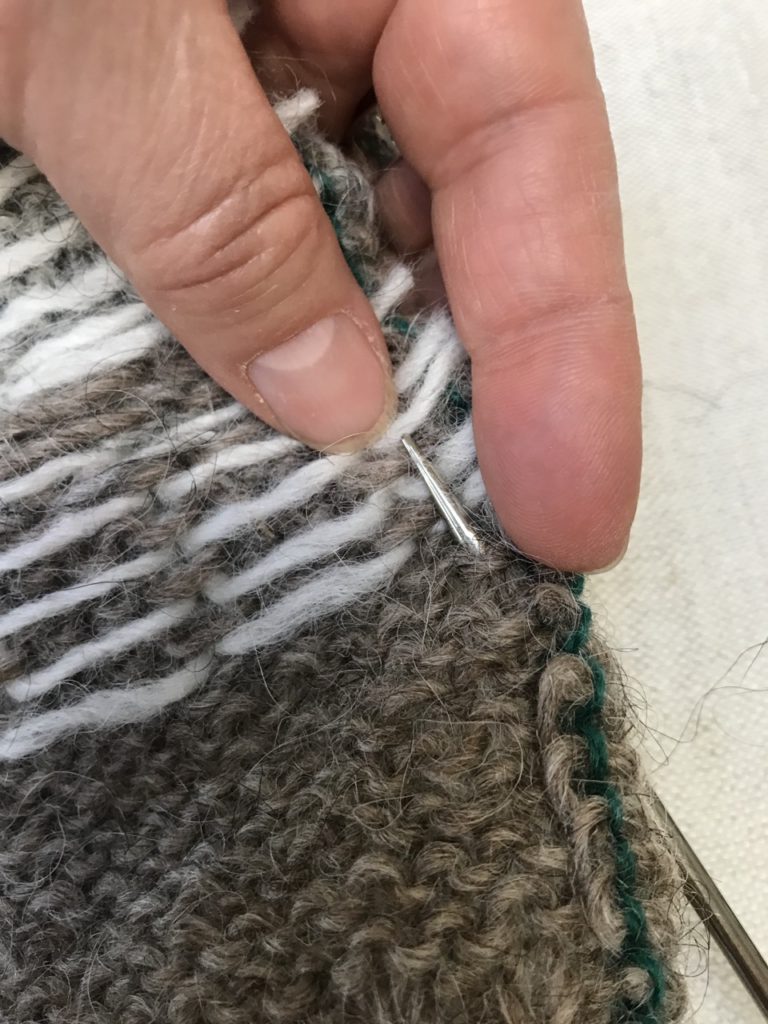
Now! Reinforcing the purl-stitch-steek with slip-stitch crochet. It is a bit hard to see the stitches you need to pick up. Just go slowly and analyze as you go, peeking to the inside if it helps. We will be crocheting one leg of the center purl stitch and the closest leg of the adjacent body stitch. This means we will be infringing on the body of the sweater, but it is only going to reduce the circumference of the sweater by one or two stitches depending on where you pick up for the button band.
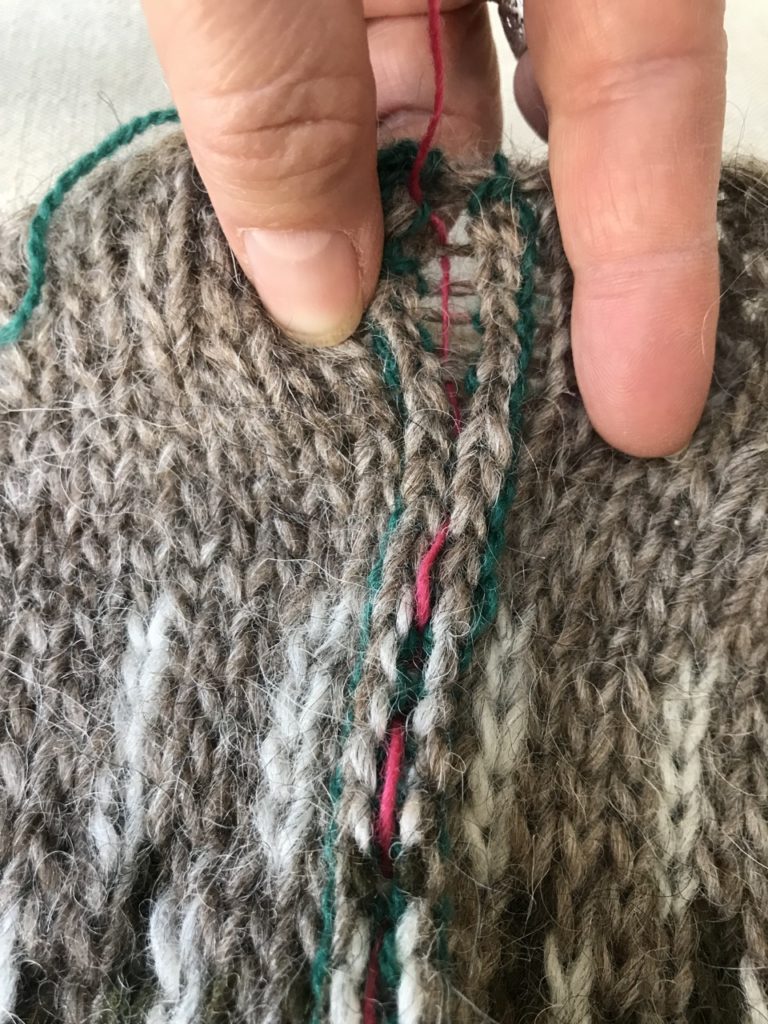
The process is the same as the stockinette stitch steek, only it’s a lot harder to figure out which leg of the purl stitch you need to catch, but as I said, go slowly. And when you’re finished, celebrate!
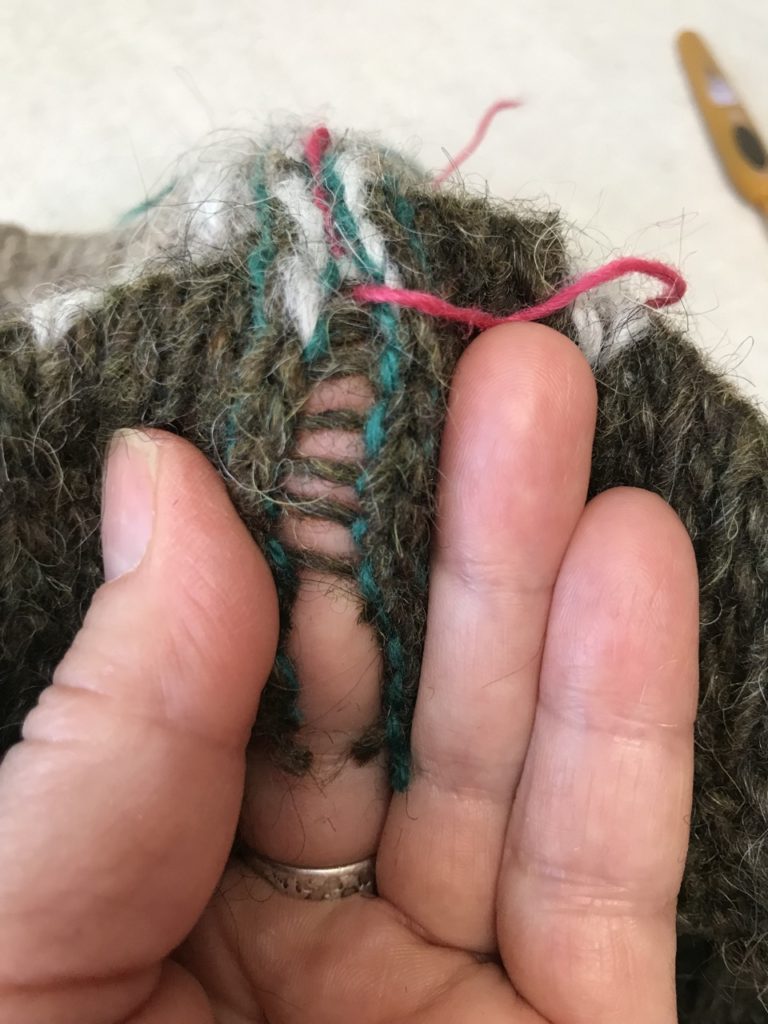
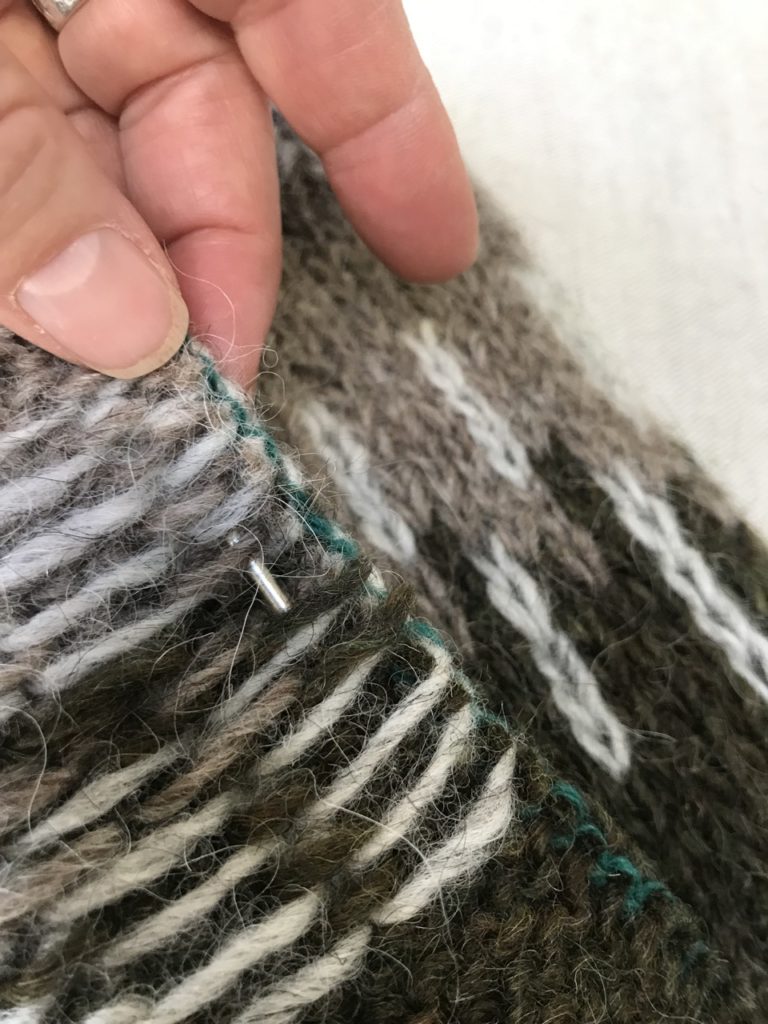
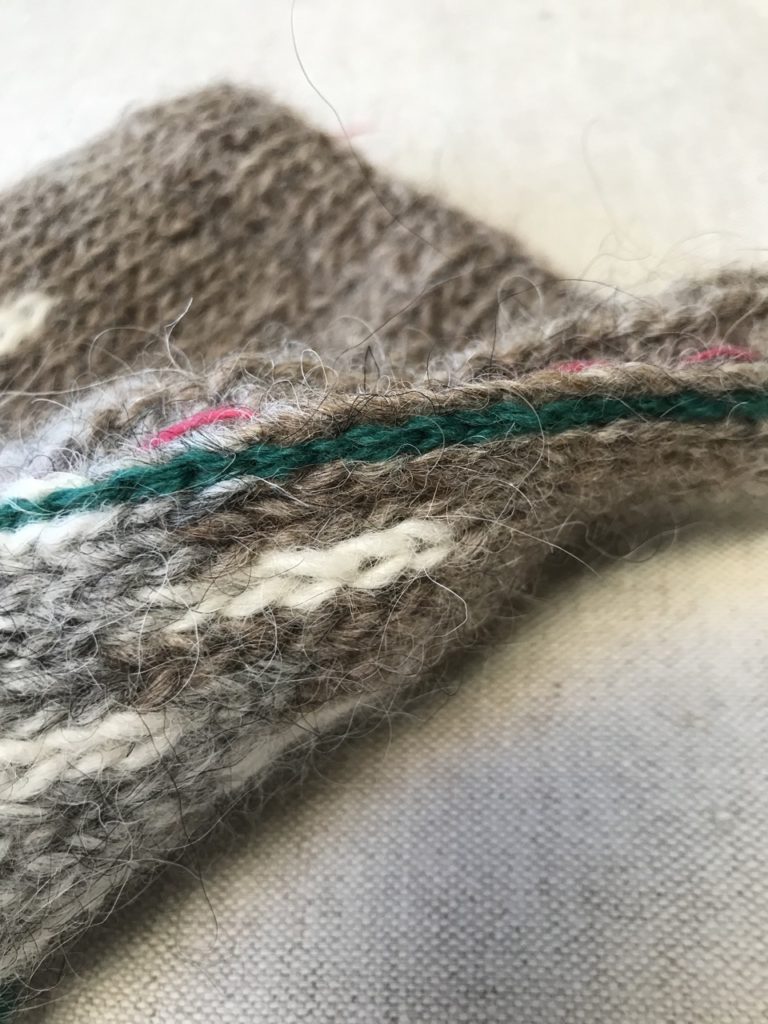
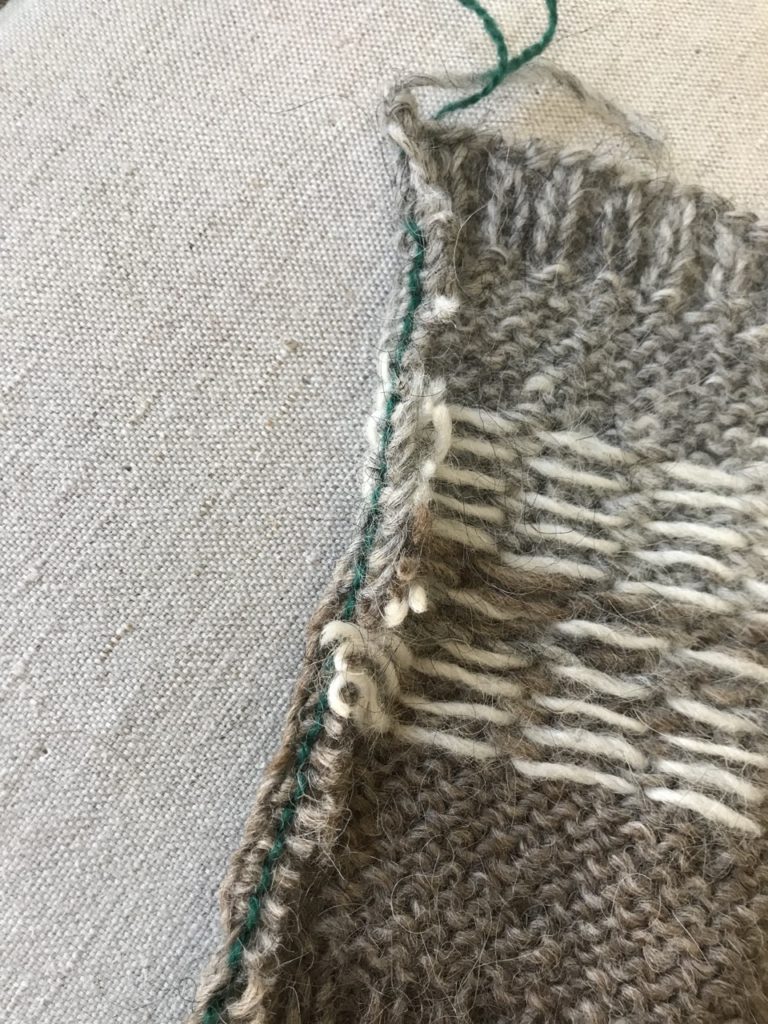
It makes a pretty edge on the right side. On the wrong side the floats are floating free. They can be caught when you pick up for the button band as you can see below. Also remember, Lettlopi is sticky, so it is unlikely to unravel.
OK folks! That’s it for now! Hope to see you in January for the Fringe and Friends Steekalong! Tag your pictures #fringeandfriendssteekalong #sólbeincardigan #maryjanemucklestone so we can all find them and see them!
Sólbein Cardigan Images by Carrie Bostick Hoge. All other images are mine. Solbein Cardigan pattern can be found on Ravelry and also in Making Magazine No.4 Lines.
Many thanks to Emily Qualey for making the gif magic !
